Adventures in Book Arts and Crafts
Bookie Blog, In Our Stores
As a cashier, I’m in the unique position to see nearly everyone’s epic finds. I meet great people and talk about my favorite games, bands, and books. I end those conversations with a reminder of our 7-day guarantee in the event there’s any problem with the book or disk. Now and then the reply back is: “does the condition matter?” The reason being, the item is going in an art project. This blog post is a shout out to the artists and the crafters. The customers that see potential in the finds others would discard. Let’s dive into the world of book art!

The world of book arts and crafts is vast. There are TONS of projects for old books! From intricate cut-and fold centerpiece designs to stunning yet straightforward origami. As a total newbie, I decided to try my hand at three simple projects. Paper flowers (despite never being able to succeed at any type origami), a folded book design, and a vase to hold the flowers. Ambitious? Yes. Nervous? You betcha.
First, I tackled this great tutorial on “Kusudama” flowers. The tutorial was straightforward even I could do it (trust me that’s impressive). Book paper is surprisingly easy to work with, and I found the entire process pretty forgiving. I think this is a great project for anyone ten and up. The hardest part of the process was gluing the final three petal bundles together at the end.
First, I tackled this great tutorial on “Kusudama” flowers. The tutorial was straightforward even I could do it (trust me that’s impressive). Book paper is surprisingly easy to work with, and I found the entire process pretty forgiving. I think this is a great project for anyone ten and up. The hardest part of the process was gluing the final three petal bundles together at the end.
My only suggestion is to have a 4th petal bundle which would increase the petals from six to eight. Gluing the last three bundles into a pyramid shape is difficult, and I found adding another bundle allowed me to glue in pairs until only two halves of the flower were left to glue together. I did use super glue for the first few flowers, but I ran out quickly, and it left my fingers a mess. Elmer’s Glue-All worked just as well and cost significantly less.
The flowers are amazingly customizable. While they look great as-is, one can draw and paint the book paper for colors or effects, and add buttons, or gems to the centers. I recommend using a wire or pipe cleaner as a stem for the flower instead of just rolled paper. The rolled paper was difficult to insert into the flowers and was pretty flimsy.
The flowers are amazingly customizable. While they look great as-is, one can draw and paint the book paper for colors or effects, and add buttons, or gems to the centers. I recommend using a wire or pipe cleaner as a stem for the flower instead of just rolled paper. The rolled paper was difficult to insert into the flowers and was pretty flimsy.

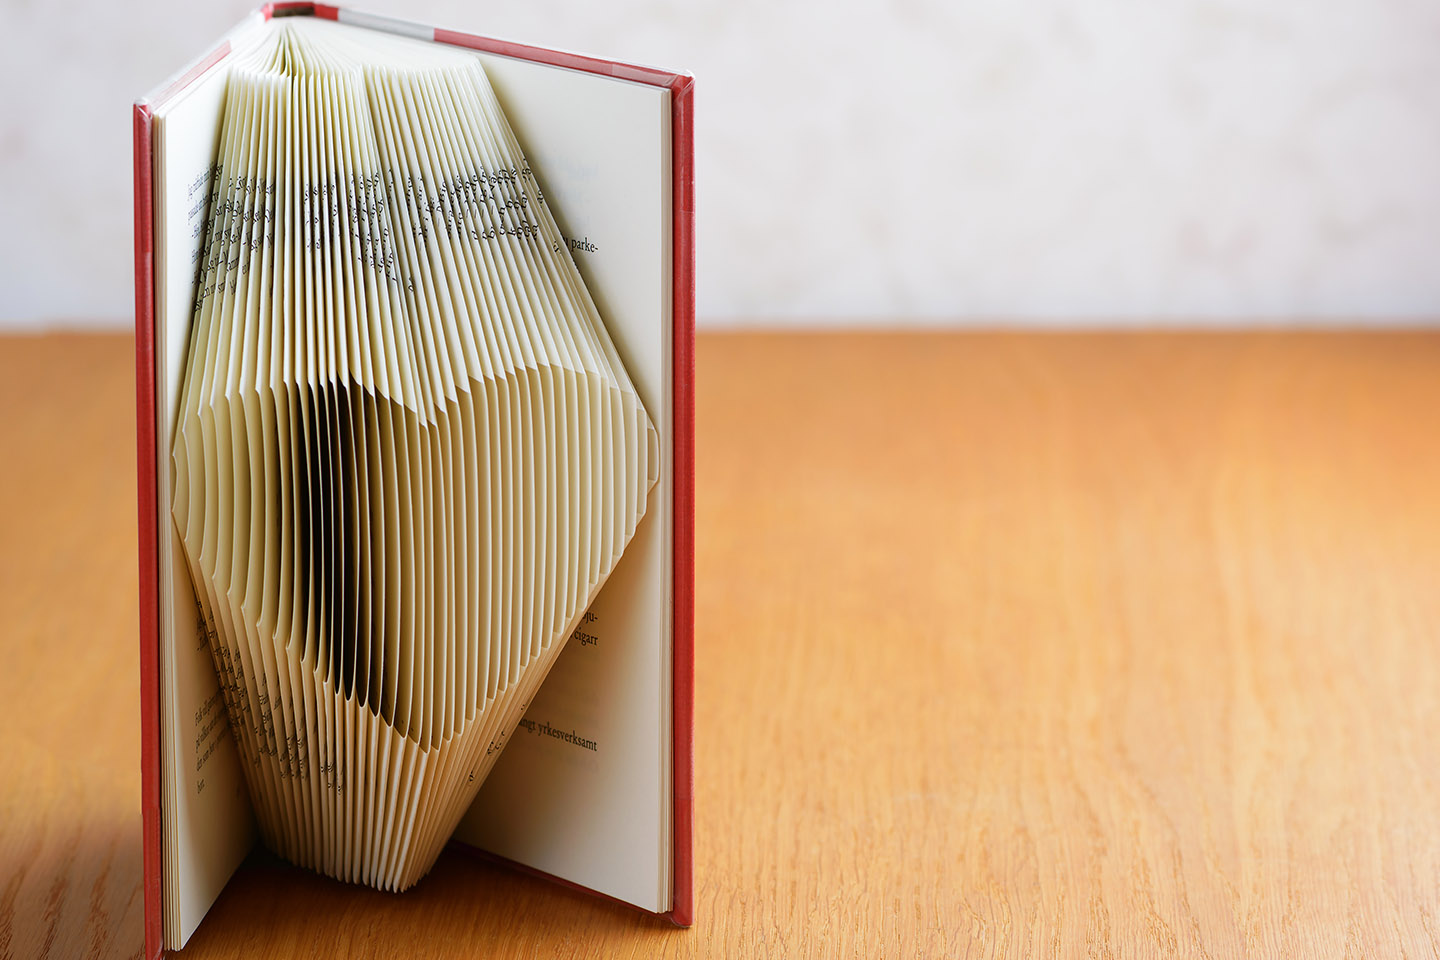
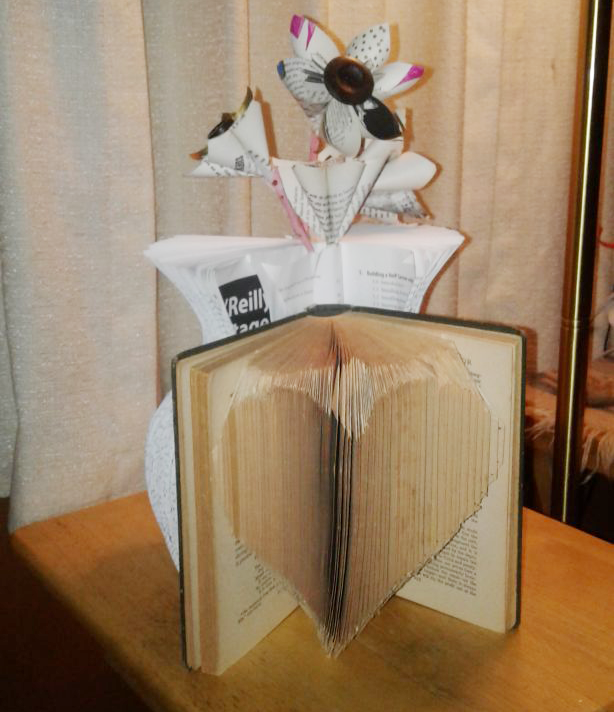
Next, I attempted the folded book heart. The book heart is a good craft for beginners since there is a dizzying array of patterns and styles. There are even several ways to design your own pattern. I’d love to do a “Bookmans” folded design, so perhaps a future article will cover custom patterns (as soon as I can wrap my head around the concept). The heart I found was fairly plain compared to the fairy trapped in a jar (#goals), but the heart turned out great for a first try. Also, I was able to experiment with the pattern without losing my mind.
The folding process took about 2 hours, and I found I preferred to mark the points several pages ahead then go back and fold, rather than mark points, fold then move on. I lost my place too easily doing the latter process. Another helpful hint that worked for me was writing the page numbers next to every 5-6 folds. I used the measure and mark pattern for its accuracy. I choose a book that was shorter than the required height needed for the pattern. But this pattern was based on numbers, so I was able to subtract the number of centimeters I was missing from each measurement and PRESTO! I created a heart!
I’ll have to try sizing with the other style patterns to see if they’re as flexible. I’m very proud of the finished project. If you can mark a specific point with a ruler, and fold a page; you can do this. Here is the full tutorial for the heart.
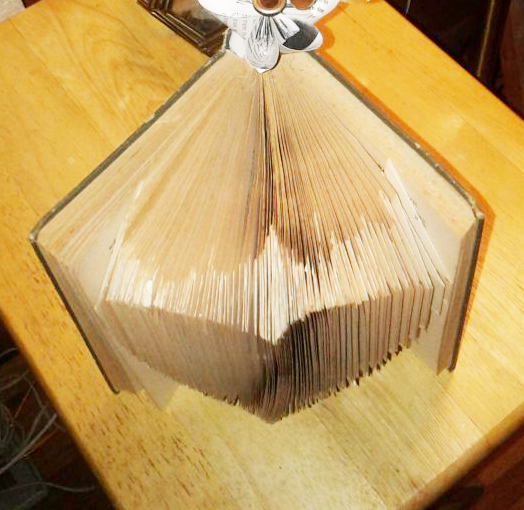
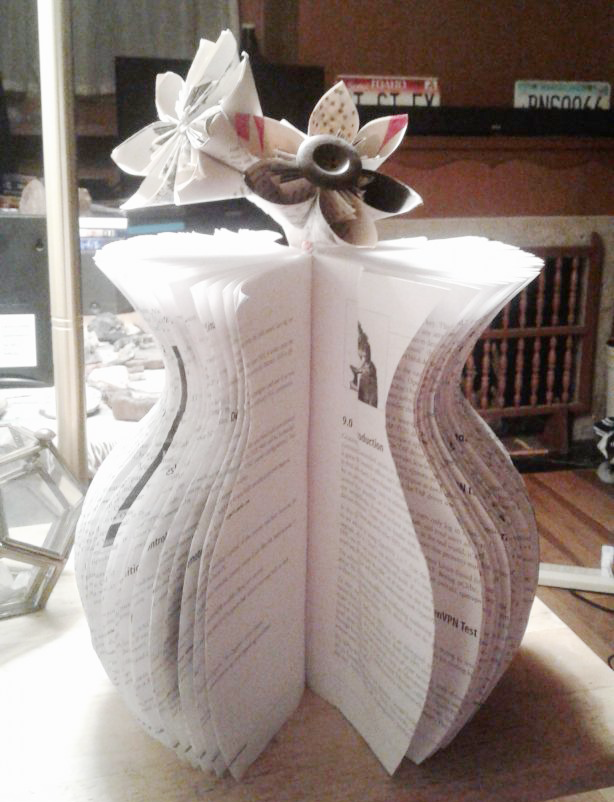
The last project turned out to be the most difficult. This cut-out vase. While the technique was certainly simple enough, it was somehow much more tedious than either of the other two folding projects. The hardest part was cutting the curve of the neck it is what makes a crafting nightmare. I suspect using an exacto knife or box cutter may be easier I, however, I used regular scissors. Burning the project I burnt the Charles Dickens out of my finger using the hot glue gun, and it took me a good hour figuring out how to display the flowers. My advice: the Cut-out vase is NOT for the faint of heart, total newbie, or kids.
Leave your favorite book crafts in the comments. Pics or it didn’t happen!
I made quite the cute little display with each project, and ironically the book heart itself turned out to be a great flower holder! I hope this article has inspired you to re-think an everyday item that seems destined for the garbage. The internet is full of great design ideas for re-purposed items. I hope you’ll give it a try.
I’ll take them to work, and maybe they will be on display at a Bookmans near you! Till next time, book art crafters!
Tags In
Categories
- Art (13)
- Bookie Blog (440)
- Community Events (272)
- Contests & Giveaways (251)
- Core Values (197)
- Films (17)
- Games (46)
- gifts (33)
- In Our Stores (571)
- Inspiration (115)
- Job Postings (2)
- Merchandise (399)
- movie recommendastions (1)
- Musical Notes (243)
- News (176)
- Personality (4)
- Play: A Gamer's Blog (105)
- Quiz (16)
- Reel Chat (287)
- Style (22)
- Tips & tricks (46)
- Uncategorized (183)
Tags
Arizona
art
Az
board games
Bookmans
Bookmans Flagstaff
Bookmans free events
Bookmans Mesa
Bookmans Phoenix
bookmans recommends
Bookmans Speedway
books
children
Community
Crafts
events
Family
Flagstaff
Free
free event
free events
free kids activities
gaming
geeking out
how to
kids
kids club
literacy
live music
Love of Reading
Mesa
movies
music
Phoenix
reading
Shop Local
star wars
Storytime
Summer
Summer Kids
Summer Kids Events
Tucson
Tucson Arizona
video games
Virtual Event


